How to convert olm to pst, Convert Outlook Mac 2011 to Outlook Windows pst on Mac OS X?
Install OLM to PST Converter Pro
To install OLM to PST Converter Pro on your Mac, Download the latest software setup of OLM to PST Converter Pro.
a) Double-click on the installer file.
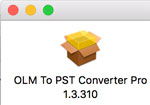
b) OLM to PST Converter Pro Installer is Launched
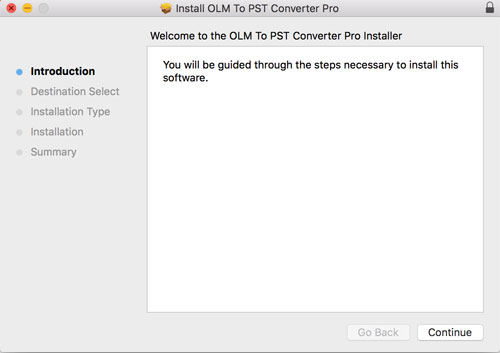
c) Click on Continue to start installation of OLM to PST Converter Pro
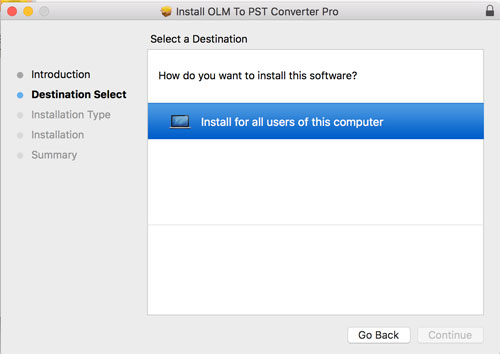
d) Choose install for all users of this computer and click on continue.
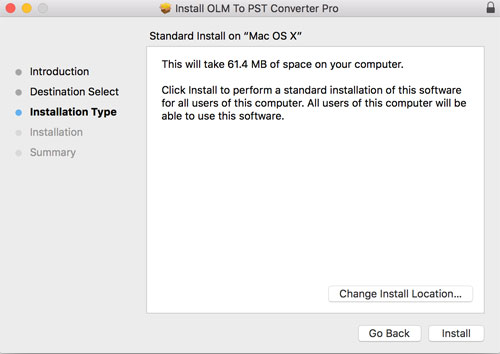
e) Select install, if you install the Application at default location, else you may choose to change Install location to location of choice.
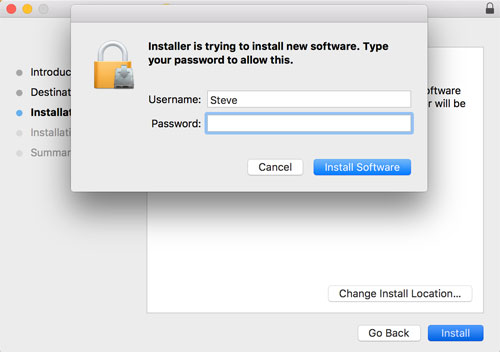
f) You will be prompted for user password to proceed with installation by Mac OS X, please enter the password to proceed with installation.
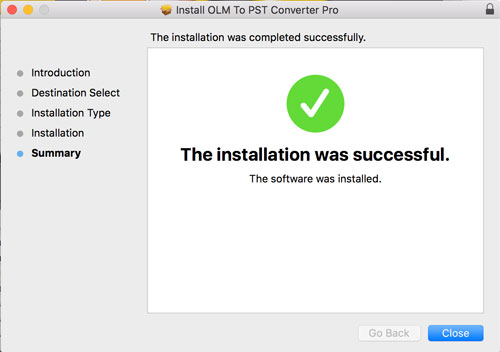
g) OLM to PST Converter Pro is now installed on your Mac.
Export OLM Archive files from Outlook Mac, If not yet exported
a) Launch Outlook for Mac 2011
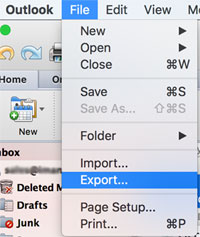
b) Under file menu select File > Export option
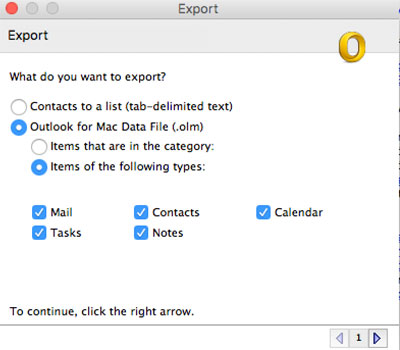
c) You are presented with choices for exporting .olm file from Outlook 2011, Choose Outlook for Mac Data file. Select if you need mails, contacts, calendar entries.
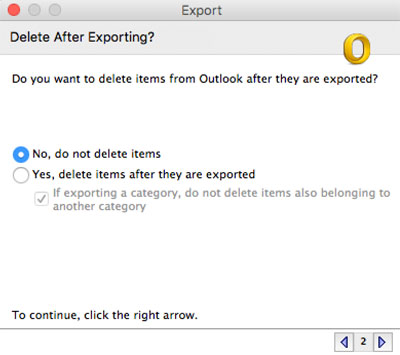
d) Next you are asked for more settings, if you want to delete the items after export from Outlook Mac 2011. Select No.
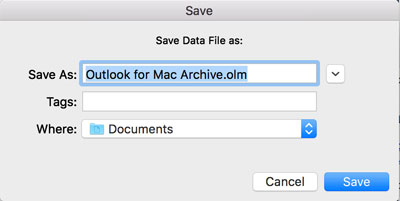
d) Select a location to save the exported .olm file.
e) Export process is completed.
Conversion from Outlook Mac OLM archive to PST File format
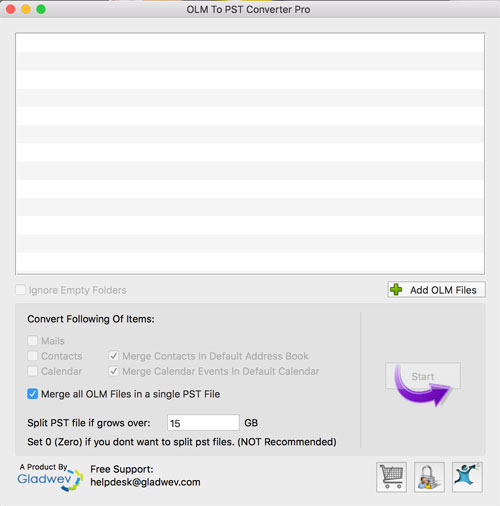
a) Launch OLM to PST Converter Pro for Mac OS. Click Add OLM files Button or Drag and Drop saved OLM files on the App.
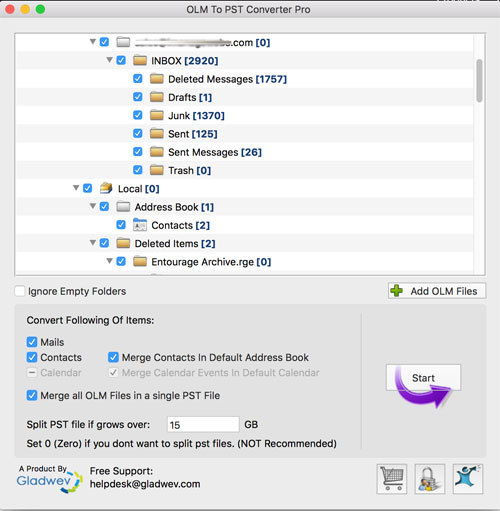
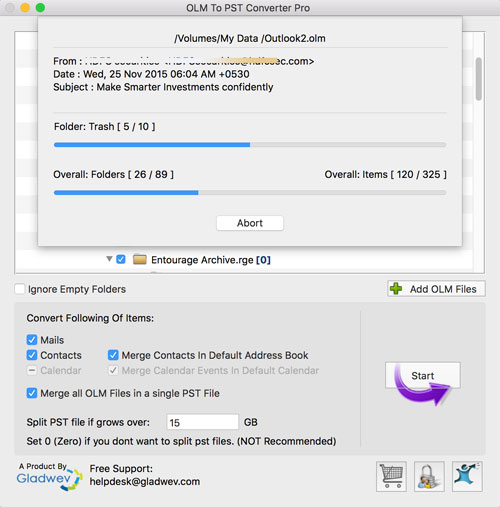
b) OLM to PST Converter Pro for Mac OS reads the OLM file(s), and displays the Folder Content in OLM file as in the screen below. Various parts of the screen have been highlighted by numbered boxes and description of each box is given below. Select / Deselect the folders you wish to have converted and available in output converted PST file. There are few options with checkboxes
1) Ignore Empty Folders : the option when checked lets you quickly hide any folders with no messages from the list of folders and excludes them from conversion.
2) Convert Following items Section : Checkbox Mails , Contacts, Calendar is if you want to convert these items over to pst file format. Merge Contacts in Default address Book, will merge all contacts and calendar events if you have multiple calendar and contact lists defined in Outlook Mac.
3) By Default, OLM to PST Converter Pro converts each added OLM file to seperate PST file. Merge all OLM files into single PST, allows you to merge content, if you have added multiple OLM files for conversion into one single PST file.
4) Split PST is a feature, which lets you split PST's into specific size limits, if required in some special scenerio.
c) Outlook Mac OLM files to PST Conversion Process is started once, you click on start button. You can see the progress and have an option to Abort. If for some reason, you would like to abort the process of Outlook Mac OLM files to PST Conversion and start at a later time. You can click on Abort button.
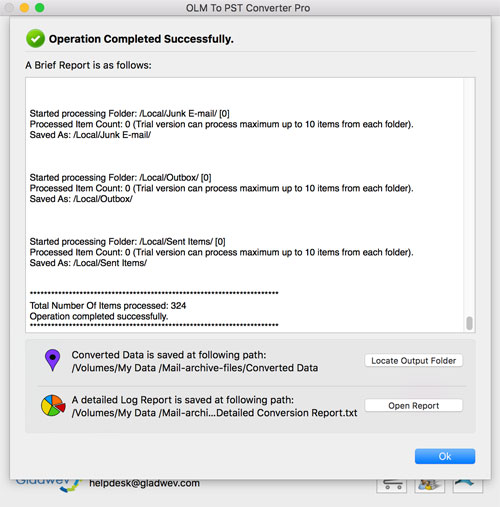
d) Outlook Mac to PST Conversion is complete. And you are displayed a conversion Report.
Conversion Report is saved in the output folder with name “Conversion Report Brief – dd/mm/yyyy (Date of Conversion)”. A detailed conversion report is also saved in output folder with name “Conversion Report Full – dd/mm/yy (Date of Conversion) ” which contains a list of all converted items.
1) Outlook Mac to PST Conversion Report Brief: This report contains list of all the converted folders along with the number of items converted from each folder.
2) Outlook Mac to PST Conversion Report Full: This report contains a full list of all the converted emails, contacts and calendar items.
Purchasing License & Unlocking the demo version
Click to Buy OLM to PST Converter Pro License key and follow the on-screen instructions to place your order. Once you successfully complete the order process, you will receive your personalized license key shortly at your registered e-mail id.
To unlock the full features of OLM to PST Converter Pro, click on the “Unlock” (unlock full version) button available at the bottom right-hand corner of the application.
A registration window opens up. Enter your customer Id and License key provided to you in the mail and press “Unlock” button to enjoy full features of your OLM to PST Converter Pro.
